Today's post is thanks to an activity I did with my students in Science Club (a lunchtime activity for students between Grade 5 and Year 8). We did this over two weeks to great acclaim from the students. This tutorial was written for someone doing this in their kitchen (since I this as a test run at home) but if you are a teacher and would like any advice for trying this in a classroom setting, let me know in the comments.
The goal is to make sugar geodes. This basically uses the same sort of process that makes any crystal you might find in the ground, the only difference being the materials are edible and the process is nice and fast compared to typical geological processes!
Materials needed
- Sugar
- Water
- Food dye
- Flavouring (I used vanilla essence and peppermint essence but that's only because that's all I had in the pantry!)
- Aluminium foil
- Small bowls or similar (I used a muffin tray)
- Measuring cups
- Small saucepan and wooden spoon
- Stove
Method
First take the aluminium foil and fit it into your bowl. Geodes are not typically a perfect symmetrical shape so feel free to scrunch it into a bowlish shape that pleases you. Add a drop or two of food dye and ONE drop of flavouring.

Now to make the sugar solution. The exact amount is up to you. The important thing is that you use a ratio of three parts sugar to one part water. I used 3/4 cups of sugar to 1/4 cups of water to make four small geodes but it is entirely up to you!

Place this over a low heat on the stove and stir continuously (this is the part where careful adult supervision is a must if you are doing this with kids). Initially it will be a whiteish sludge due to most of the sugar not dissolving.

But this is where the magic of science happens. Why?
SCIENCE DIGRESSION SCIENCE DIGRESSION SCIENCE DIGRESSION

Well when a solid like sugar dissolves in water, what happens is that each individual sugar molecule gets surrounded by water and escorted away to do a tour of the container. Alright, the last bit I made up but the point remains. As long as there are water molecules looking for a friend, the solid will continue to dissolve over time. But the water is moving at a certain speed (because it is 20°C) and eventually all the water molecules are busy escorting the dissolved sugar around and if there is any more solid sugar present it will sit at the bottom of the container. In science, this is called a saturated solution.


 I found that I had a 'liquid centre' with crystals on the surface of the liquid as well as lining your foil. The easiest way to deal with this is to gently press in the top middle of your crystal to make a hole and then leave the geode upside down over a bowl to drain. It's best to leave it for a few hours at least to dry as if the sugar crystals are still damp you may find them breaking slightly when you peel the foil away. If they feel a little damp, leave them in a cool dry place for a while.
 Now for the fun part- adding the matrix. No not the movie. The matrix is the geology term for the rock that we find crystals in. For example, in the picture on the left you can see some rather pretty samples of amethyst. These are from round geodes (the green rock) that have been broken open to reveal the pretty purple amethyst inside. Since the goal is to keep things edible, we can't use rock so instead there are two choices. I've seen some instructions that suggested using fondant. But I went with chocolate, because... hello... chocolate!!!!


But if we heat the water, those water molecules are moving faster. This means they can now deal with more sugar molecules and so it can now dissolve that abandoned sugar at the bottom. We call this a supersaturated solution. When we cool this solution it is like a person holding a very very large and precariously balanced set of fragile materials. There is really not enough room for those sugar molecules now so all it takes is a tiny bit of undissolved crystal or a flaw in the container to act as a nucleation site (place were a crystal can start to grow).
END SCIENCE DIGRESSION END SCIENCE DIGRESSION END SCIENCE DIGRESSION
Carefully keep stirring your mix until the mixture is clear.
Then carefully pour this mixture (while still hot!) into your prepared containers.
It will take several days for the crystals to grow but you will probably see them start to appear in 5-10 minutes as the mixture cools.
Three days later...
I found that I had a 'liquid centre' with crystals on the surface of the liquid as well as lining your foil. The easiest way to deal with this is to gently press in the top middle of your crystal to make a hole and then leave the geode upside down over a bowl to drain. It's best to leave it for a few hours at least to dry as if the sugar crystals are still damp you may find them breaking slightly when you peel the foil away. If they feel a little damp, leave them in a cool dry place for a while.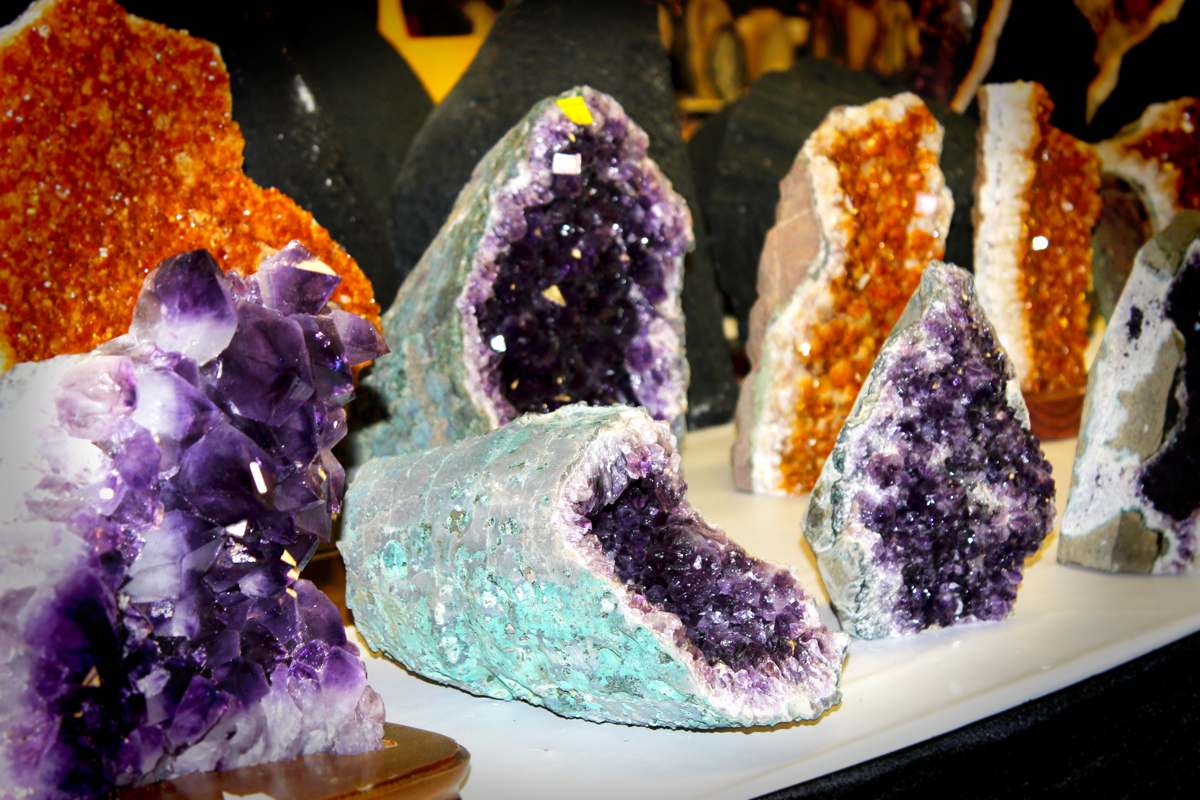 Now for the fun part- adding the matrix. No not the movie. The matrix is the geology term for the rock that we find crystals in. For example, in the picture on the left you can see some rather pretty samples of amethyst. These are from round geodes (the green rock) that have been broken open to reveal the pretty purple amethyst inside. Since the goal is to keep things edible, we can't use rock so instead there are two choices. I've seen some instructions that suggested using fondant. But I went with chocolate, because... hello... chocolate!!!!
Ahem. Adding chocolate is simple. Just melt some white chocolate and spoon it over your geodes. Place in the fridge to set the chocolate.
Then, add some milk or dark on top so you get that multiple layer feel you often see with crystals like amethyst.
And that's it! Because the crystals are lots of individual units in this method, I found that they were crunchy but not one solid block of tooth breaking terror (but be careful on that first bite- your results may vary!). Very very sweet- not really my favourite but very popular with my Science Club kids!
