Every now and then I like to take a browse through Pintrest. I find that it can be interesting to find ideas, but the big downside is that you see a lot of things repeatedly, find things listed in the wrong category (cooking recipies do NOT belong in the DIY and Craft category!) or are things that you
could not pay me to would have to pay me a great deal of money to do and even more money to have me keep it in my house!
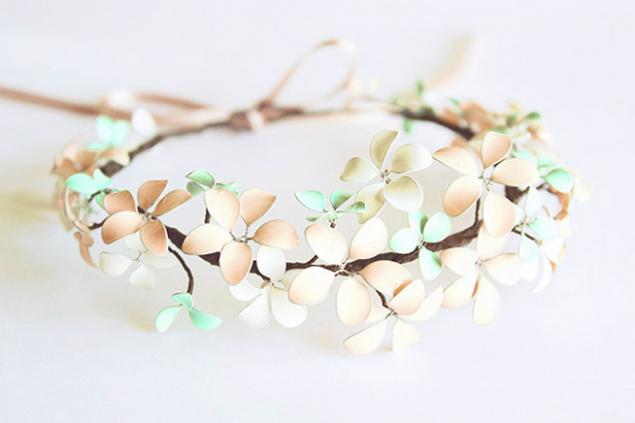
But some things are truely lovely and I do end up pinning them to my own boards. One that has been regularly on my list of things to try is
this lovely nail polish flower bracelet/necklace?
NB, as far as I can tell, this is the original web page plus it has instructions. Downside is that it is a russian page, but thanks to the excellent pictures and google translate, is understandable.
I've a little project on the go that I thought might work with this technique but I faced a problem. While fine wire is simple to get, I am not a big nail polish plan. I only have five bottles of the stuff and only one of them is something in a 'flower/plant' shade. Going out and buying some would get very expensive, very fast as well as being a waste. So I started thinking, is there anything else out there that would work?
So what else is one to do but put some things to the test? Going through my supplies I settled on a short list of the most likely alternatives. In addition to some nail polish as a control, I used some paint on glass paint that I had left over from a kit; Mod Podge Dimensional Magic; Lisa Pavelka Magic-Glos, a resin that sets when exposed to UV light; PVA glue (aka white glue); and clear craft glue. To test each one, I make equal sized loops using a Bic ballpoint pen, out of some fine wire (28 or 32 gauge I'm guessing as it was not labelled).
For all these materials, I have either painted using a brush or 'dipped' the loop into a small pool of the material in whatever method worked best to form a film in the wire loop.
Nail Polish
 |
| One layer of nail polish |
Brushing this on directly didn't work, as I could not form a film without it popping. However, dipping the loop carefully into a small puddle worked well. The finished effect was a lovely transparent loop, like stained glass. It was very thin however, and careful poking with a finger showed that it would not hold up to any wear. When I tried to do a second layer, it seemed to 'melt' the already present layer.
Glass Paint
 |
| Glass paint when still wet |
Initially this looked promising. The paint went on beautifully using a paint brush and a nice thick layer formed. However, while it also had a lovely translucent look, it also somehow dried with a small hole.
 |
| Once dry, one layer of the glass paint dried with a hole or crack |
A second coat closed the hole and made a more uniform appearance but does make the loop more opaque.
Mod Podge Dimension Magic
This is another material I had to apply by dipping it into a small pool. However, this was the easiest of all the materials that needed this method to do as it's slightly thicker consistency meant that the film formed first time. One layer also appeared to be much more durable than nail polish, although if I was to use this for jewellery, I would plan on using a few more layers. The layer was also very uniform in thickness so there are no 'blobs' left over.
The other great advantage of this material is that it is transparent. Once it has set, a sharpie or similar would allow any colour (or design) to be applied.
 |
| When wet, Dimension Magic has a whitish appearance, but dries clear. |
Lisa Pavelka Magic-Glos
I had the highest hopes for this stuff as I have played with it before and it makes a lovely solid layer when dry. However, in the past I used it with wire shapes stuck temporarily to a sticky tape background while the gloss set. When trying to use it directly, without a backing film, it was an unmitigated disaster. Straight out of the bottle it is almost as viscous as water. Every tried to dip a bubble wand in straight water? Hard to make a film, isn't it?
Aha, I thought though. I'll let it partly cure (it was morning so light was coming through the window enough to set it), then it will be thick and work well.
Yeah, not so much.
PVA glue
PVA can be very different in thicknesses depending on brand and age of the bottle. My PVA was a little runny so it took several attempts to get it onto the loop. Once there, it took a bit of careful rotation for a minute for it to dry enough without a thin spot that would turn into a hole.
When dry, it was mostly clear but with a slight white fog to it. Not a big deal if you want to colour it anyway but might be a factor if you want it to be perfectly transparent.
Craft glue
This glue was easy to put into the wire loop but it was very bubbly! If working with some of these materials, a little blow torch is a good tool to pop bubbles (it also works with varnish). However, DO NOT TRY THIS WITH THIS GLUE. Fire will not pop the bubbles, it will happily set the whole thing on fire. Yes I did test this under very carefully controlled conditions (aka, I didn't set the house on fire). Yes it did catch fire. This is generally not a good idea! As I've never been able to use this glue without a few bubbles here and there, it's best to be used only if you want the bubbles as a feature.
Summary
Rating of different materials to fill in wire loops
Sorry the table is a bit dodgy- Blogger doesn't do tables so I had to improvise
Each category rated out of three. +++ is the best, + the worst or - for things that didn't work.
What is the best product to use? Well it will depend a lot on your budget, patience, and the final use of the loops or flowers you make. For all materials, if you don't want to mess with a temporary backing material like tape, your loops need to be small. Mine were about 1 cm in diameter and I feel it is about as big as can be managed.
If you had an addiction to nail polish already and so have many many bottles in a rainbow of colours, then go for it! Modern nail polish reportedly was
first derived from car body paints, so it is not terribly surprising that it's a fairly durable product. The only possible catch is that you may need to buy colours that work for your project and you may find a limited selection of some shades- few people generally wear green or brown nail polish for instance.
If you are on a budget and don't already have nail polish then I would say PVA glue is best, followed by Dimension Magic -about AUD$8 a bottle but that will go a long way with the amount needed. Because these can be coloured with markers, it gives you the greatest range of colour flexibility.
If you are after durability, then I would suggest Magic-glos but with a proviso that this assumes you back every wire loop with tape until it sets. Multiple layers of nail polish and glass paint are also options, or Dimension Magic are also possible. Craft glue also works, provided you are OK with the bubble factor.
What will I use?
Stay tuned for a future post to find out!
Plus I have not decided yet
to see one use I put these too to make flower vines.